|
How to setup PGP for email on Windows
A tutorial I made for acquaintances showing how to setup
PGP on Windows.
Contents:
This guide uses
Mozilla Thunderbird and GPG4Win.
Setting up GMail
The first thing you need to do is enable IMAP for your GMail.
This lets you use a real email client to send and receive email
instead of your web browser.
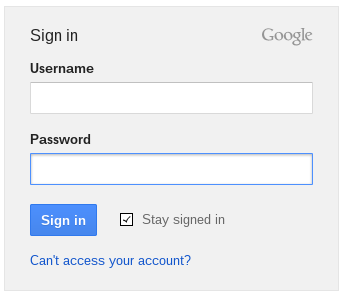
1) Login to your GMail account
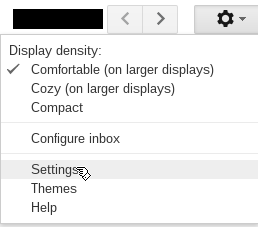
2) Navigate to the settings page, you'll probably find it
under the gear icon.
|
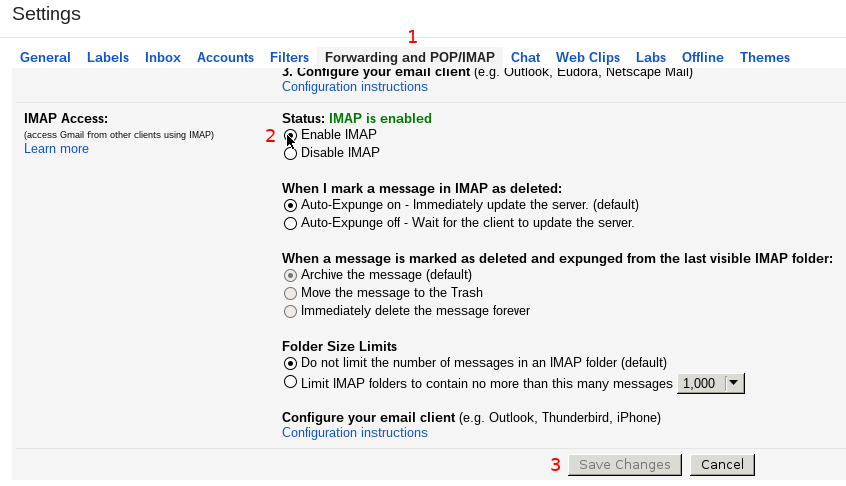
3) On the settings screen:
|
| |
1 - choose "Forwarding and POP/IMAP"
|
| |
2 - choose "Enable IMAP"
|
| |
3 - choose "Save Changes"
|
Installing GPG4Win
Now you're ready to install GPG (GPG, GNUPG, or GNU Privacy Guard is an
open source implementation following the OpenPGP specification)
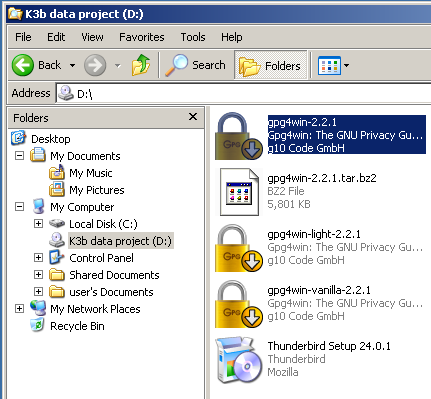
1) Run the GPG4Win installer (Get it from
www.gpg4win.org. You can find the one
that I used to make this tutorial here)
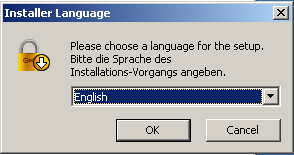
2) Choose OK (unless you don't want English)
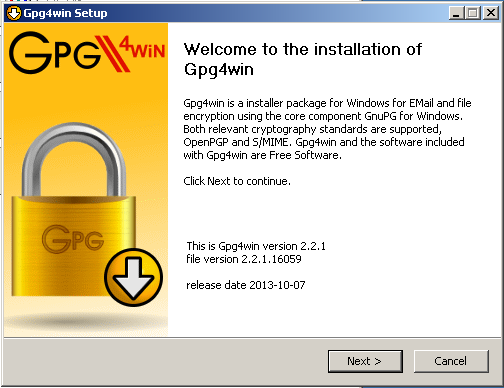
3) Choose Next
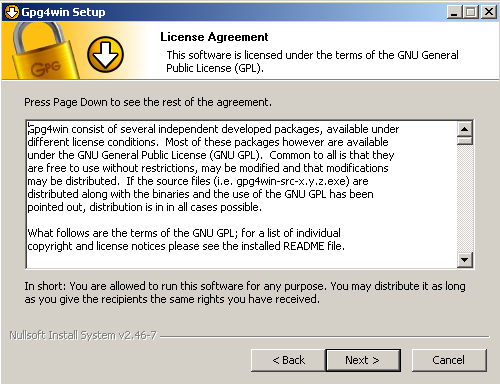
4) Choose Next
|
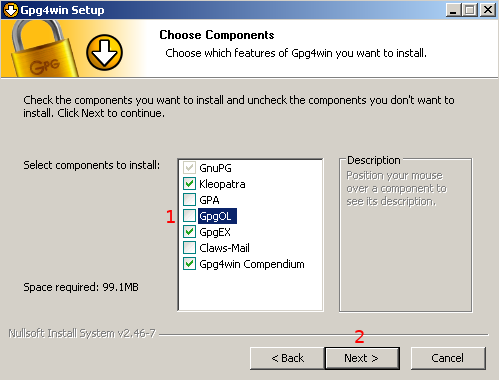
5) We aren't going to install the Outlook plugin
|
| |
1 - de-select "GpgOL"
|
| |
2 - Choose Next
|
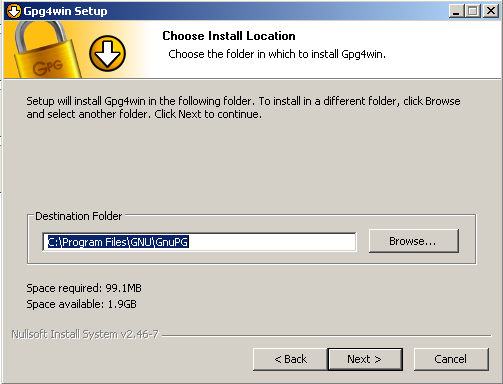
6) Choose Next (If you change the install location, you may have to manually
tell Enigmail where GPG is installed.)
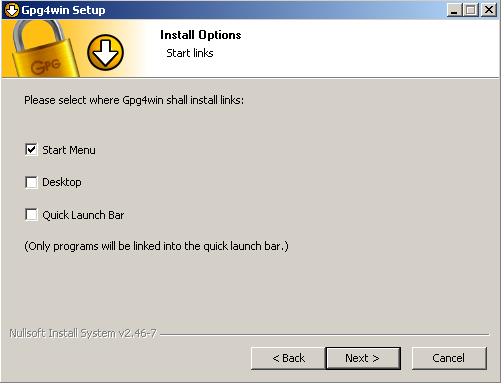
7) Choose Next
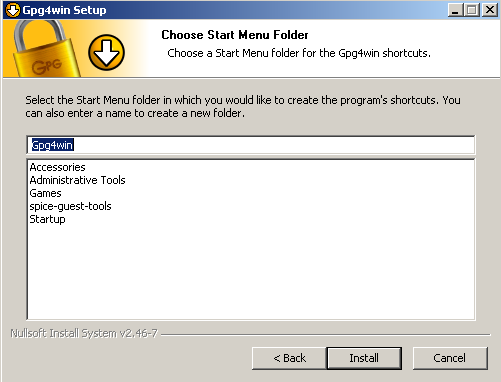
8) Choose Install
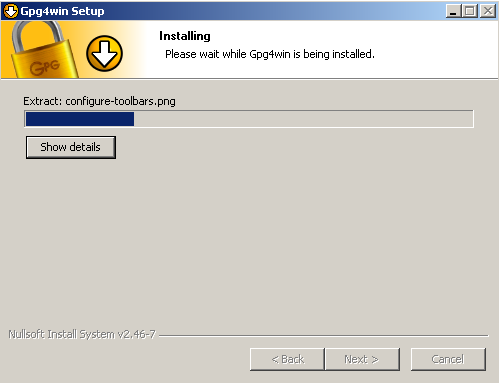
9) Wait while GPG4Win installs
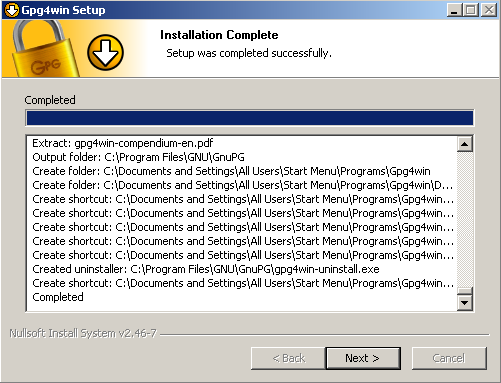
10) Choose Next
|
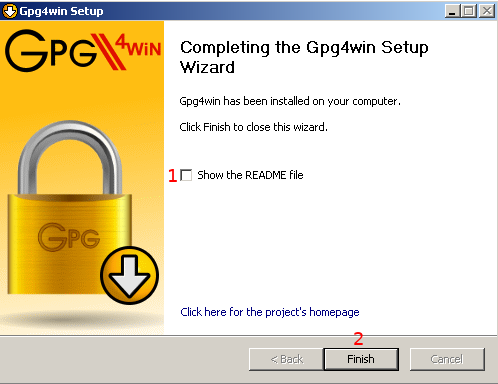
11) Installation complete!
|
| |
1 - de-select "Show the README file"
|
| |
2 - Choose Finish
|
Installing Thunderbird
Now you're ready to install Thunderbird. This is a full featured mail client
made by Mozilla! (The people who make Firefox)
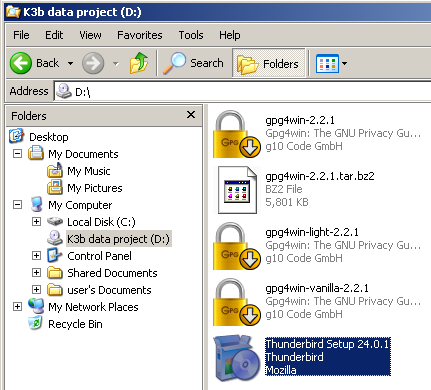
1) Run the Thunderbird installer (Get it from
www.mozilla.org.
You can find the one that I used to make this tutorial
here)
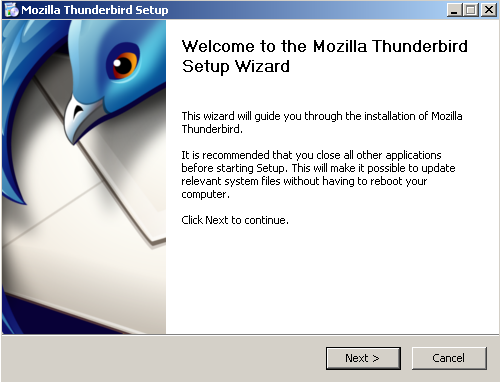
2) Choose Next
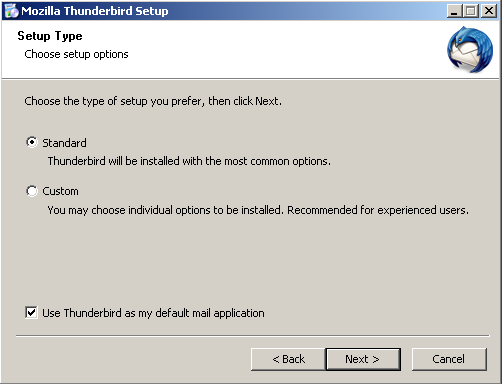
3) Choose Next
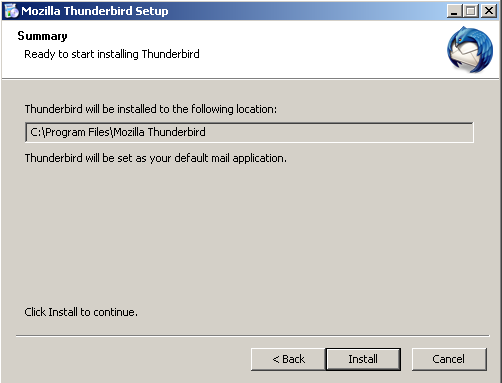
4) Choose Install
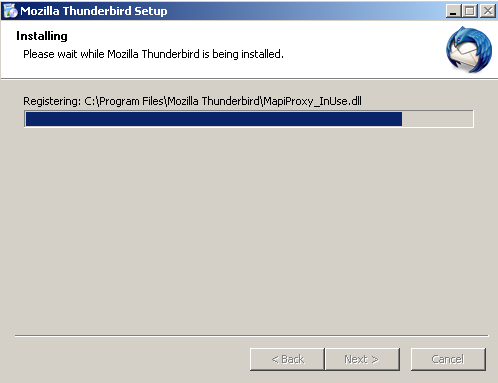
5) Wait while Thunderbird installs

6) Choose Finish (leave "Launch Mozilla Thunderbird now" checked)
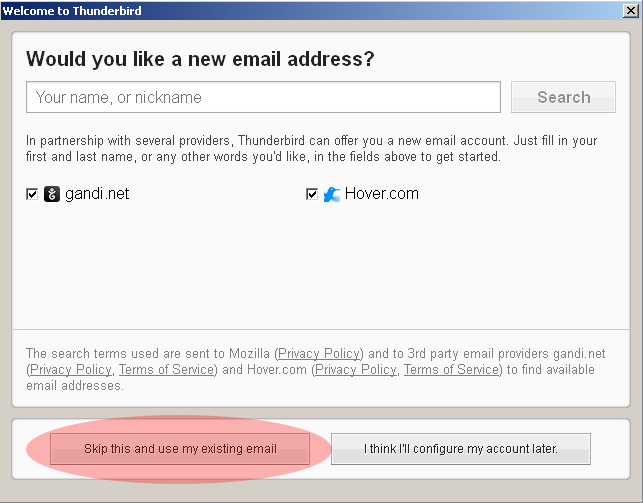
7) Choose "Skip this and use my existing email"
|
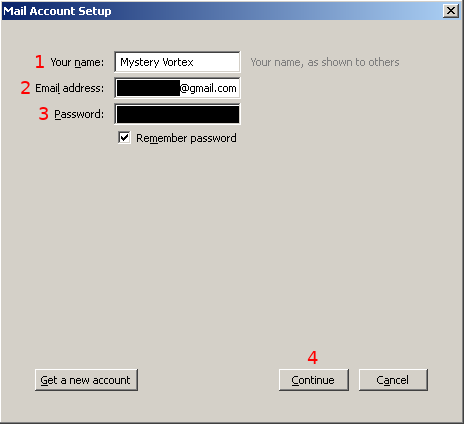
8) Setup your GMail account
|
| |
1 - Enter your name. (This is the name people will see
in the "From:" line on email you send with Thunderbird)
|
| |
2 - Enter your GMail address
|
| |
3 - Enter your GMail password
|
| |
4 - Choose Continue
|
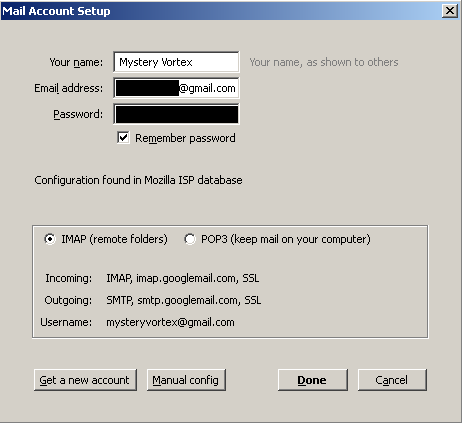
9) Choose Done

10) Enable the menu bar by Right-Clicking in the grey area next to the tabs and choosing "Menu Bar"
from the pop-up menu. (It has to be at the same height as the tabs, not too high.)
|
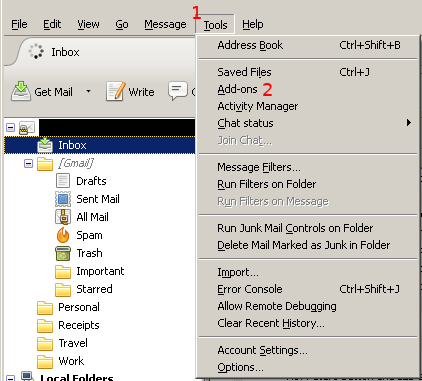
11) Go to the Add-ons window
|
| |
1 - Click on the "Tools" menu
|
| |
2 - Click on the "Add-ons" option
|
|
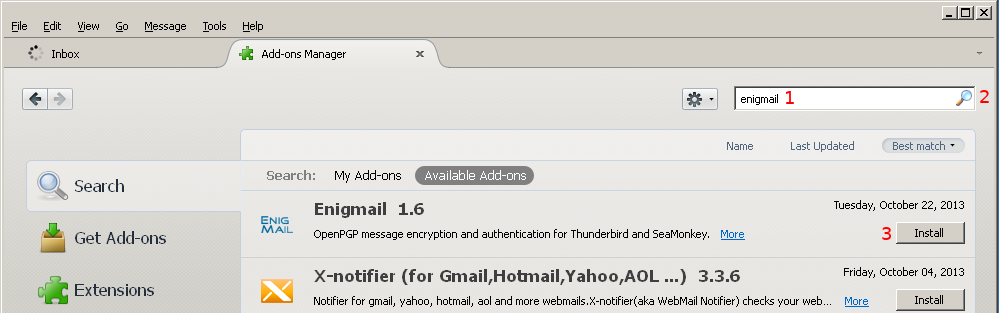
12) Install the Enigmail add-on
|
| |
1 - Type "enigmail" in the search box
|
| |
2 - Press enter or click on the magnifying glass
|
| |
3 - Find Enigmail in the list and click on "Install"
|
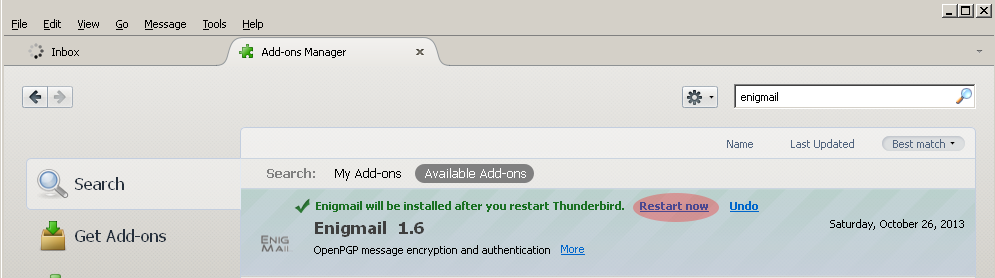
13) After Enigmail is installed, click "Restart Now"

|
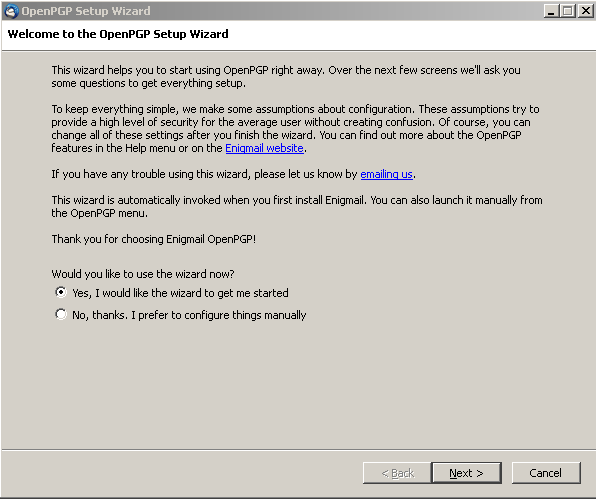
14) Close the OpenPGP Setup Wizard (We're going to generate a stronger
key than the wizard would)
|
| |
1 - Choose "No, Thanks. I prefer to configure things manually"
|
| |
2 - Choose Next
|
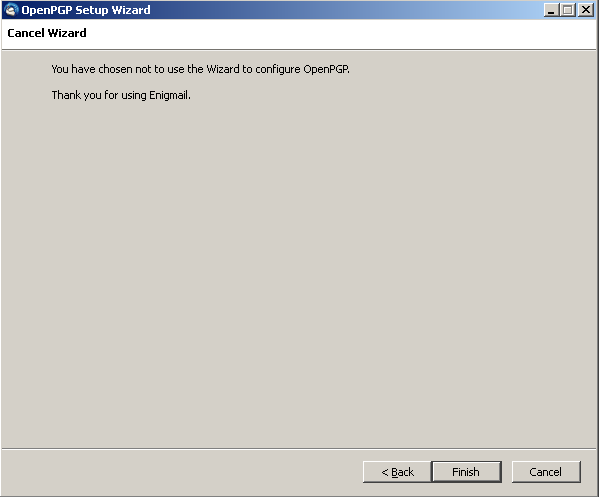
15) Choose Finish
|
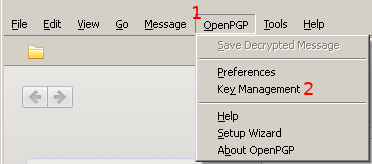
16) Go to the Key Management window
|
| |
1 - Click on the "OpenPGP" menu
|
| |
2 - Choose the "Key Management" option
|
|
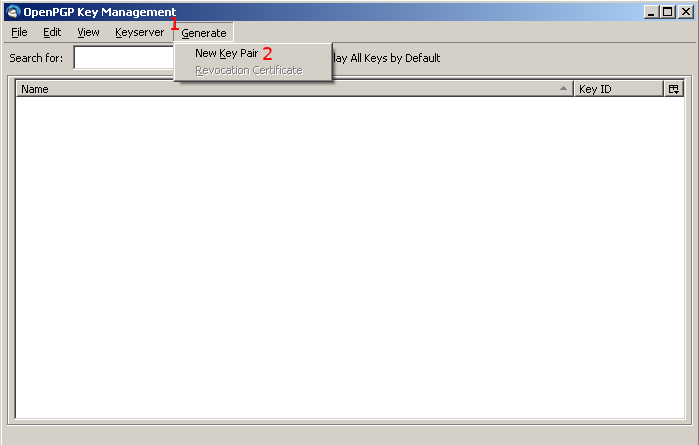
17) Go to the Generate OpenPGP Key window
|
| |
1 - Click on the "Generate" menu
|
| |
2 - Choose the "New Key Pair" option
|
|
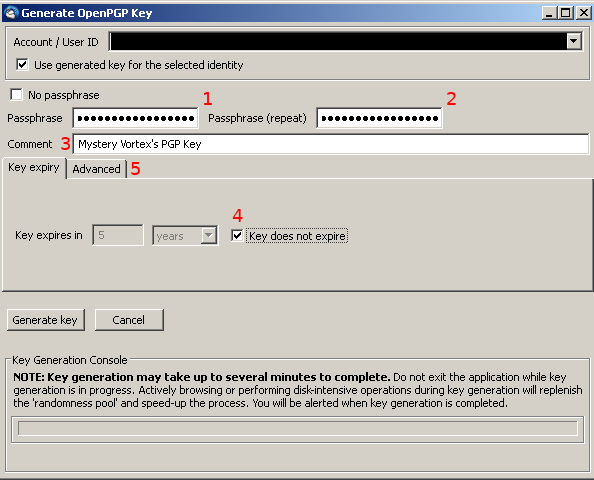
18) Fill in your passphrase and comment, and set expiration.
Your passphrase protects your key from people who can access the file that it is
stored in. For an idea of how to choose one, see
this XKCD comic. Key to that comic is that the words are chosen *randomly*.
They are not a sentence, which is much more easily guessed.
|
| |
1 - Enter your long passphrase (see above)
|
| |
2 - Re-enter your long passphrase (this helps to
ensure you didn't make a typo the first time)
|
| |
3 - Enter a comment for others to see if you like
|
| |
4 - Set the key to never expire if you wish (if your key
expires, you'll have to find a way to communicate your new key to everybody you want
to continue communicating with)
|
| |
5 - Switch to the "Advanced" pane
|
|
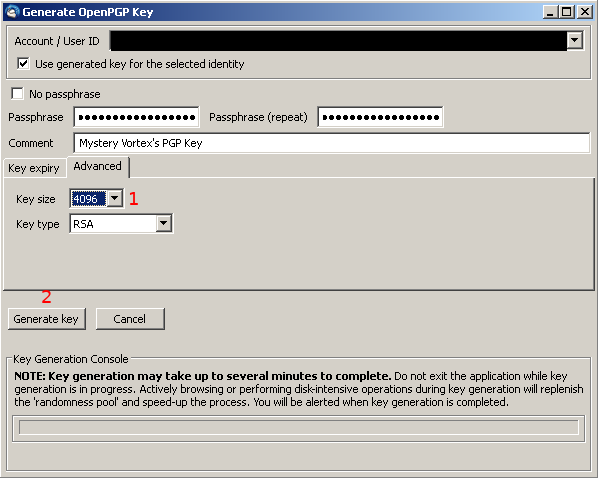
19) Change the key size and generate your key
|
| |
1 - Set the key size to 4096
|
| |
2 - Chose "Generate Key"
|
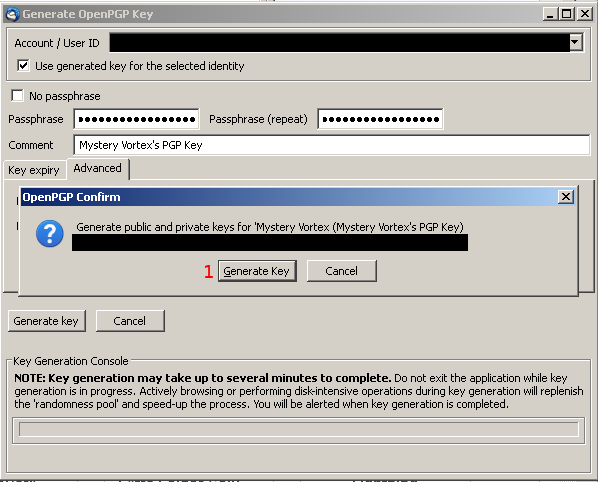
20) Choose "Generate Key"
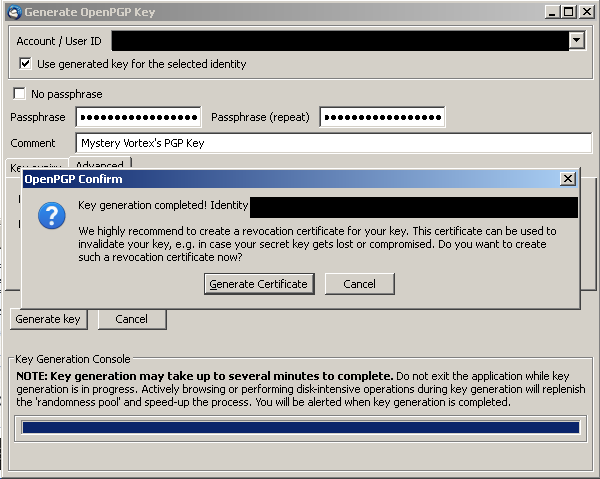
21) If you don't want a revocation certificate, simply choose "Cancel".
If you do want one, you can generate it now. If you choose "Generate Certificate"
you will be asked for your password and presented with a save file dialog. You can
use this certificate to securely invalidate your key at anytime. You can keep it
separately from your computer in case of theft or failure, and can even provide it
to a trusted third party to issue in the event of your incapacitation or coercion.
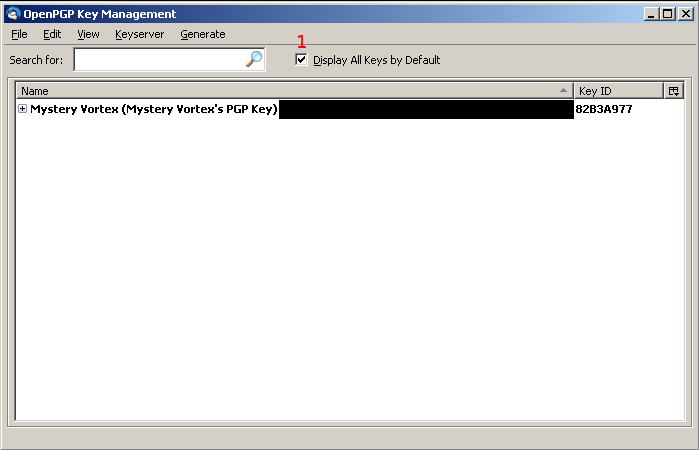
22) Once your are back to the key management window, choose "Display All Keys by Default" to see the key
you have just generated.
|
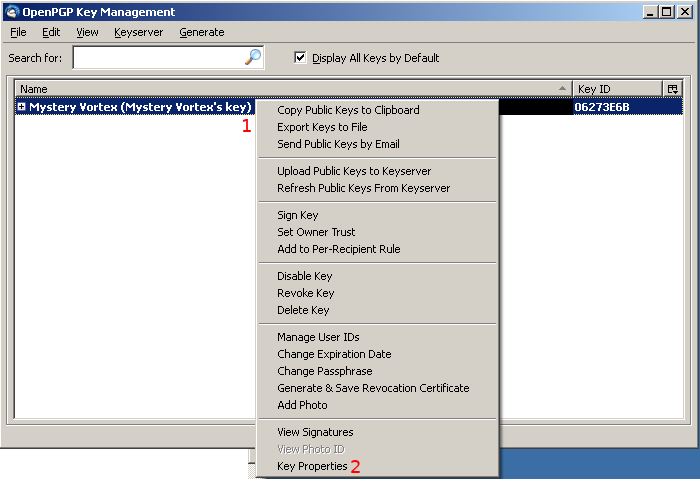
23) Open the key properties window for your key
|
| |
1 - Right click on the line showing your key
|
| |
2 - Chose "Key Properties" from the pop-up menu
|
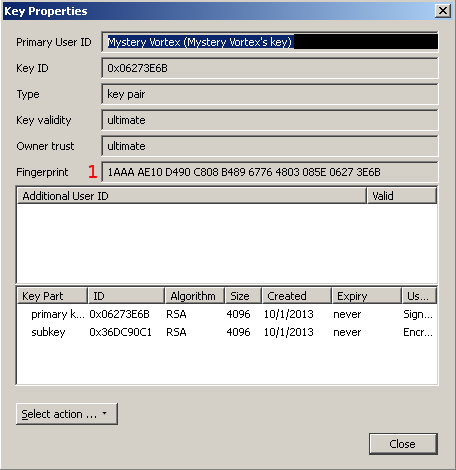
24) Note the "Fingerprint" of your key. You will need to securely communicate this number-letter
sequence to others so they can confirm that the key they have is really yours.
You may now close the "Key Properties" and "OpenPGP Key Management" windows.
|
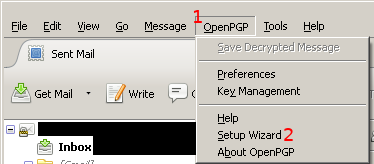
25) Now we are going to execute the wizard we ignored earlier. If you haven't done so already,
close the "Key Properties" and "OpenPGP Key Management" windows.
|
| |
1 - Click on the "OpenPGP" menu
|
| |
2 - Chose "Setup Wizard"
|
26) Choose Next
|
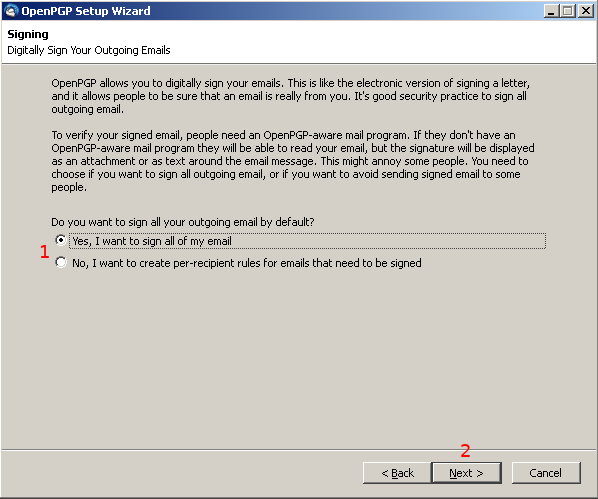
27) If you don't want to sign all of your email by default, you can turn this feature off.
Signed email is still readable without PGP. But someone with your public key could verify
that it was definitely you who sent it, and that it hasn't been tampered with.
People without PGP will see the "Begin" and "End" signed message lines as well as the block
of random text at the bottom which is the cryptographic signature. Kind of like
this comic.)
You can change the default later through the menus if you change your mind.
|
| |
1 - Change the default if you wish
|
| |
2 - Chose Next
|
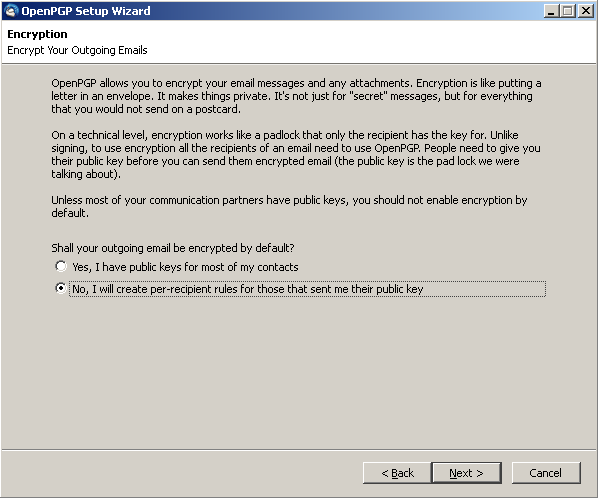
28) Choose Next
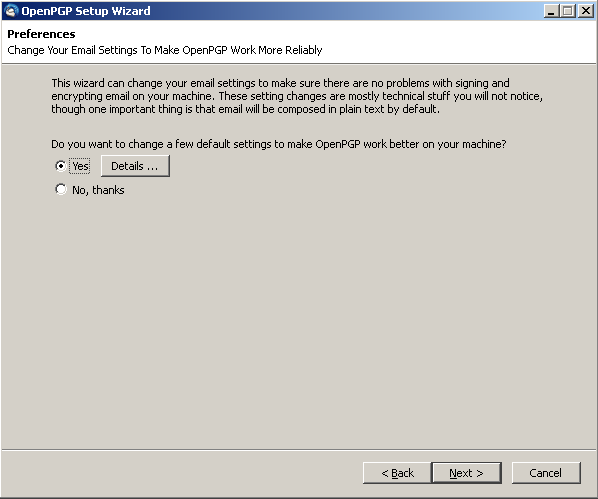
29) Choose Next
|
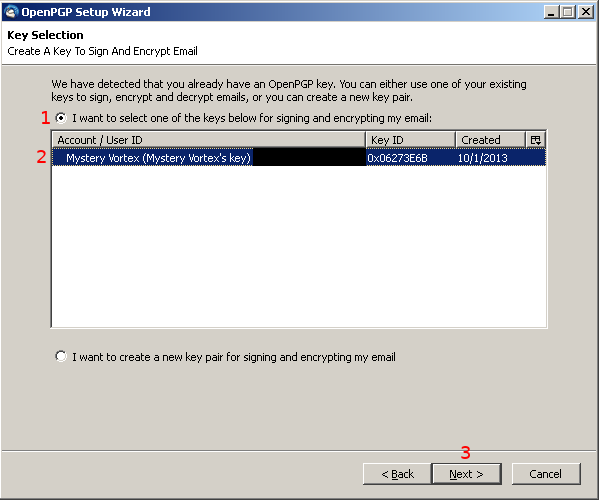
30) We will now choose the key your generated earlier
|
| |
1 - Make sure "I want to select one of the keys below"... is selected
|
| |
2 - Chose the key you generated earlier from the list
|
| |
3 - Chose Next
|
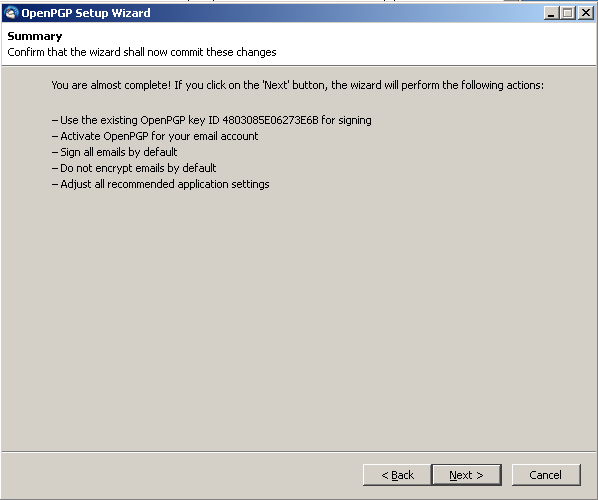
31) Choose Next
32) Choose Finish
Miscellaneous Tasks
You're almost ready to communicate securely! Now you just need someone else's
key and to share your key with them.
|
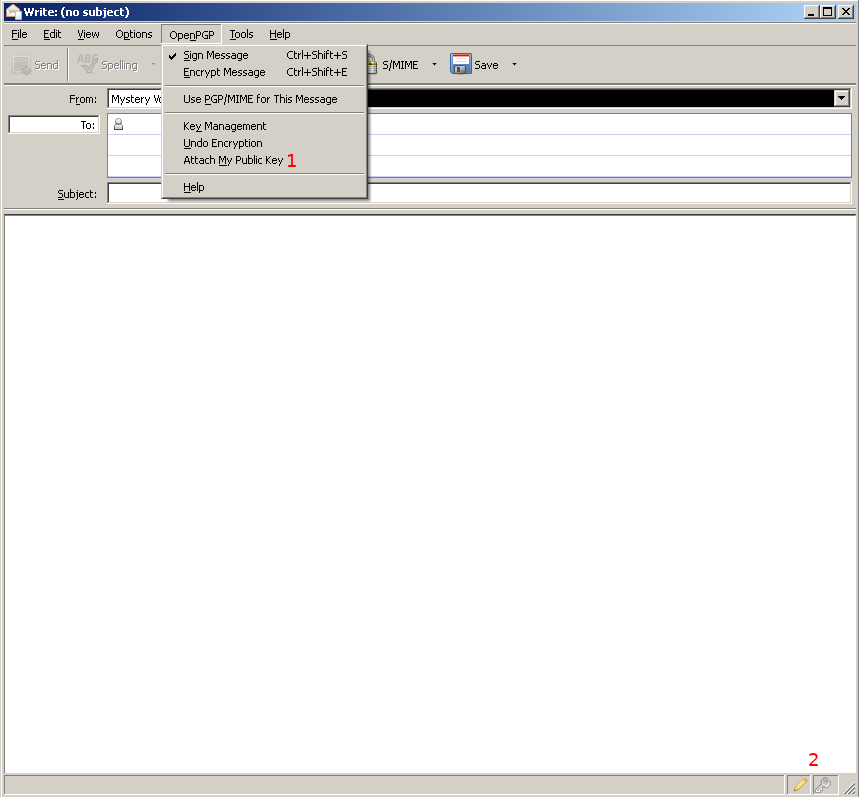
1) This is the window where you write emails. You can get here by composing a new
message with the "Write" button, replying to an email, etc...
|
| |
1 - Sending someone your PGP key is as easy as choosing
"Attach My Public Key" from the "OpenPGP" menu!
|
| |
2 - The symbols in the lower right show if your email will
be signed (the pencil) and/or encrypted (the key). This email is set to be signed, but
not encrypted. These options are also accessible by the "OpenPGP" menu and keyboard
shortcuts.
|
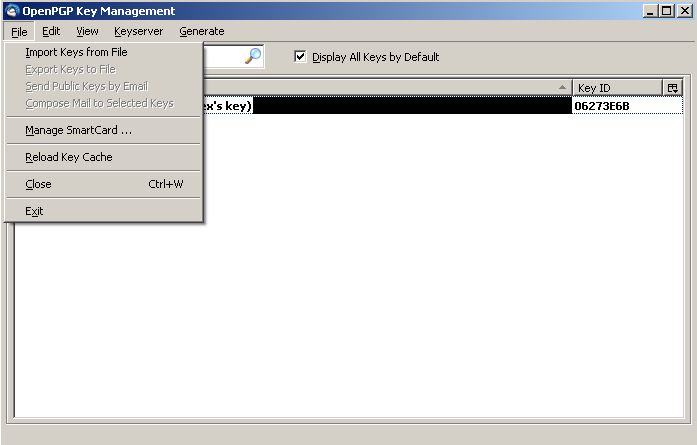
2) When someone sends you their key, if you save it in a file you can import it from the
"Key Management" dialog under File -> Import Keys from File
If you forgot how to get to the key management dialog, it was OpenPGP -> Key Management as I
showed earlier.

3) You can also just copy the key to the clipboard and the choose Edit -> Import Keys from Clipboard
from the key management dialog.
|
4) You can add rules for specific email address, such as "Always Encrypt email to this address."
This might be a good idea for my email address so you don't forget and accidentally
send me something important unencrypted.
Here's how you would do that:
|
| |
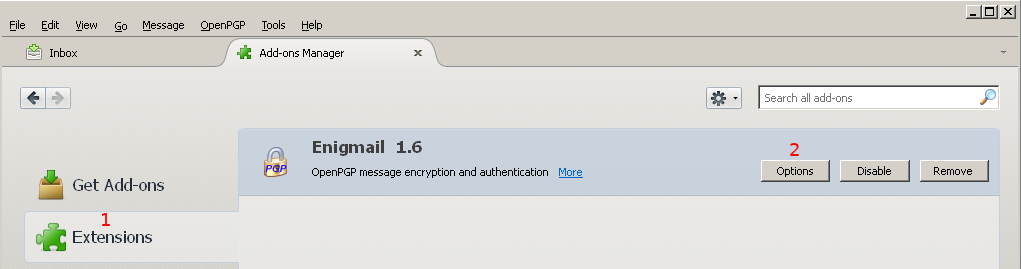
1 - Go to the Add-ons window (Tools -> Add-ons
as shown earlier.) and make sure you are on the
"Extensions" tab.
|
| |
2 - Choose "Options" for the Enigmail extension
|
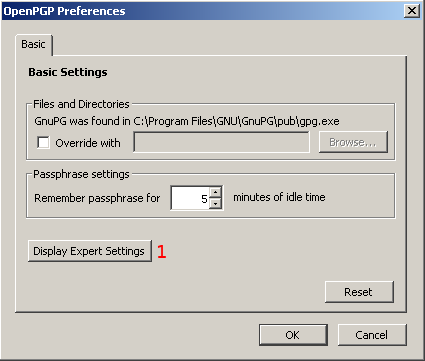
Choose "Display Expert Settings" if needed
|
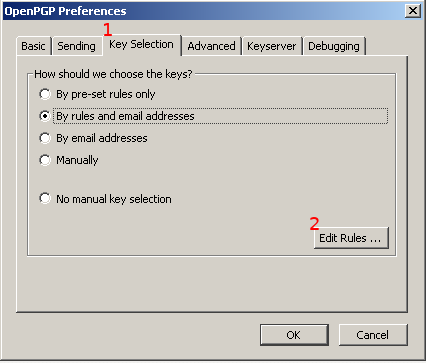
Open the "Per-Recipient Rules Editor"
|
| |
1 - Choose the "Key Selection" tab
|
| |
2 - Choose the "Edit Rules..." button
|
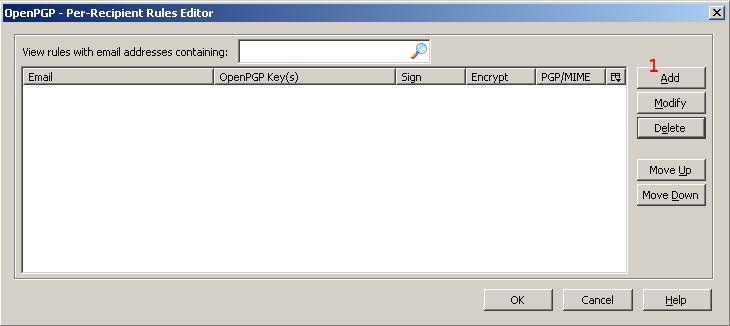
Choose the "Add" button
|
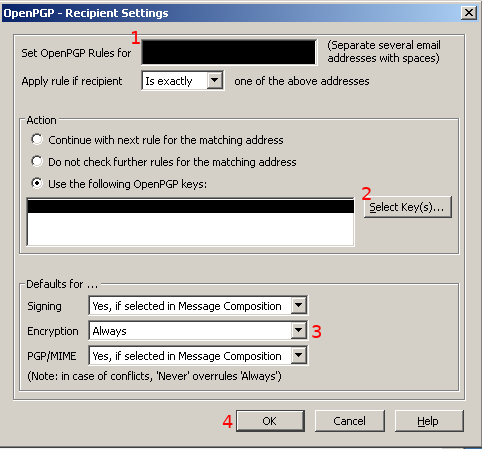
Setup the rule
|
| |
1 - Enter the email address (mine for example)
|
| |
2 - Click the "Select Key(s)" button, the key for
the email address you entered should already be selected. If not, choose the
key from the dialog. When you finish, it should appear in the box to the left
of the button. (It's blacked out in this picture)
|
| |
3 - Change the encryption dropdown to "Always"
|
| |
4 - Click "OK"
|
Key Backup
The last thing you should know is how to backup your key in case you want to re-install
Windows or your computer breaks.
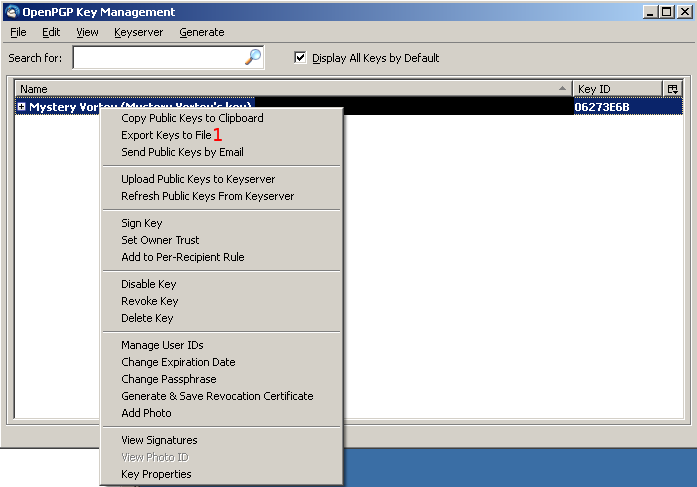
1) You can save your key in a file from the "Key Management" window by right clicking on it and
choosing "Export keys to File" from the pop-up menu.
If you forgot how to get to the key management dialog, it was OpenPGP -> Key Management as I
showed earlier.
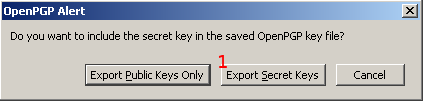
2) Choose "Export Secret Keys" from the dialog.
Don't give your secret keys to anyone ever! This file is still protected with you
passphrase, but no one ever needs your secret key!
To import them, just use File -> Import Keys from File as shown here.
mysteryvortex.com is part of the
MysteryVortex family of websites.
|